Capturing an Image
This action involves capturing a region on the desktop, and then saving it as an image.
To capture and save an image:
1.Verify that your target application is running and open on the desktop.
2.From the toolbar of the Screen Capture Tool, click ![]() .
.
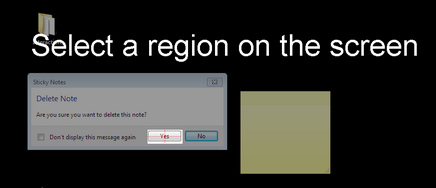
The Select a region on the screen message is displayed on the desktop.
3.Position the mouse pointer at a corner of the area to be captured. Click the left mouse button, and then drag the mouse over the entire area to be captured. When the area is completely covered, release the mouse button.
An image of the captured area appears in the Captured Image frame.
4.To save the image, from the toolbar, click ![]() .
.
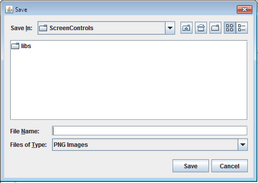
The Save dialog box opens.
5.Navigate to the location in which you want to save the image, and specify a name for the image.
Note: It is recommended to save images in a folder within your project, so they can be easily located later on. |
Then, click Save.
The image is saved, and its screen control definition (which should be copied to the Repository) is displayed in the Repository Object frame.


