Managing Your Repository Files

Contents
It is possible to have several Repository files for a single JIA project. The best practice is to create separate Repositories for each application involved in your project.
The following sections explain how to create and open Repository files using the Repository Builder tool.
Creating Repository Files
Creating a Repository .xml file involves specifying a name and location for the new file.
To create a new Repository file:
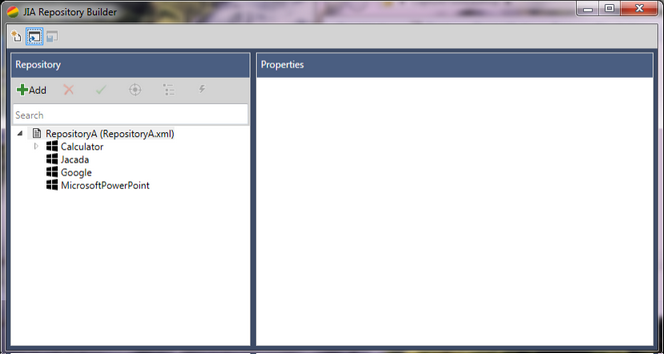
1.At the upper left corner of the Repository Builder, click ![]() .
.
The Save As dialog opens. The default file path is the location of the CaptureToolDesktop folder.

2.Navigate to the directory of your choice. Then, enter a file name for the new file.
3.Click Save.
The Save As dialog closes. The new Repository file is listed in the Repository pane of the Repository Builder.

Opening Repository Files
When the Repository Builder is used within Visual Studio, all project-related Repositories are loaded into the Repository pane and you can view all of them simultaneously. In the standalone version, however, the Repository Builder displays only one Repository file at any given time. The Open function allows you to easily open the required Repository file.
To open an existing Repository file (standalone version only):
1.At the upper left corner of the Repository Builder, click ![]() .
.
The Open dialog is displayed.

2.Navigate to the relevant file, and then click Open.
The selected file is displayed in the Repository pane.
Note: If you open a Repository while another Repository is already open, the previously open Repository is automatically closed. |