Using the Repository Builder: Getting Started

Contents
The standalone Repository Builder is launched by running the RepositoryBuilder.exe file. When the tool opens, most features are disabled until you create a new Repository file or open an existing one. (For details, refer to Managing Your Repository Files.)
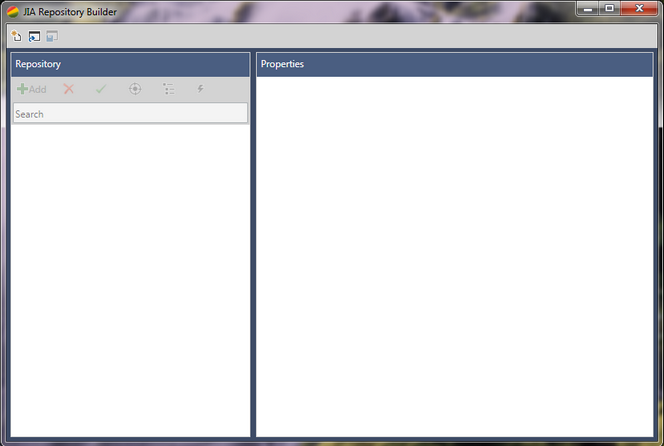
To open the Repository Builder from within Visual Studio, from the Tools menu, select Repository Builder. When the tool opens, all previously created Repositories and captured controls are listed in the Repository pane. For example:

As you work with the Repository Builder, it is recommended to save your changes periodically by clicking the toolbar icon ![]() . Closing the tool does not automatically save changes that were made to the Repository files. When you attempt to exit the tool without manually saving changes, the following popup is displayed:
. Closing the tool does not automatically save changes that were made to the Repository files. When you attempt to exit the tool without manually saving changes, the following popup is displayed:
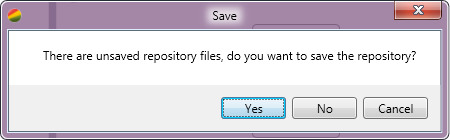
Click Yes to save your work before quitting.
User Interface Overview
The main portions of the Repository Builder are shown in the figure below. The portions are described in the sections below the diagram.

Number |
Name |
Description |
|---|---|---|
1 |
File functions toolbar |
Provides the following file management options: • • • |
2 |
Editing toolbar |
Provides the following options for updating and validating elements in the Repository tree: • • • • • • |
3 |
Repository tree |
Lists the applications and controls that have been added to a selected Repository file. Each type of control (e.g., button, label, etc.) is represented by a specific icon. |
4 |
Properties pane |
Displays the properties used in the Repository .xml to identify the element currently selected in the Repository tree. For a description of the different properties, refer to Binding Attributes. |